The cleanliness of your dog’s ears is incredibly important to your dog’s health but often forgotten. These are also very sensitive areas, so keeping them clean and healthy isn’t as simple or easy as bathing the rest of your dog’s body. With these tips, we hope that cleaning your dog’s ears won’t seem so intimidating!
Cleaning Your Dog’s Ears
 Every dog is different, so just because your friend’s dog may need to have his ears cleaned frequently to prevent dirt buildup and ear infections, your dog may have naturally clean and healthy ears that don’t need to be cleaned very often.
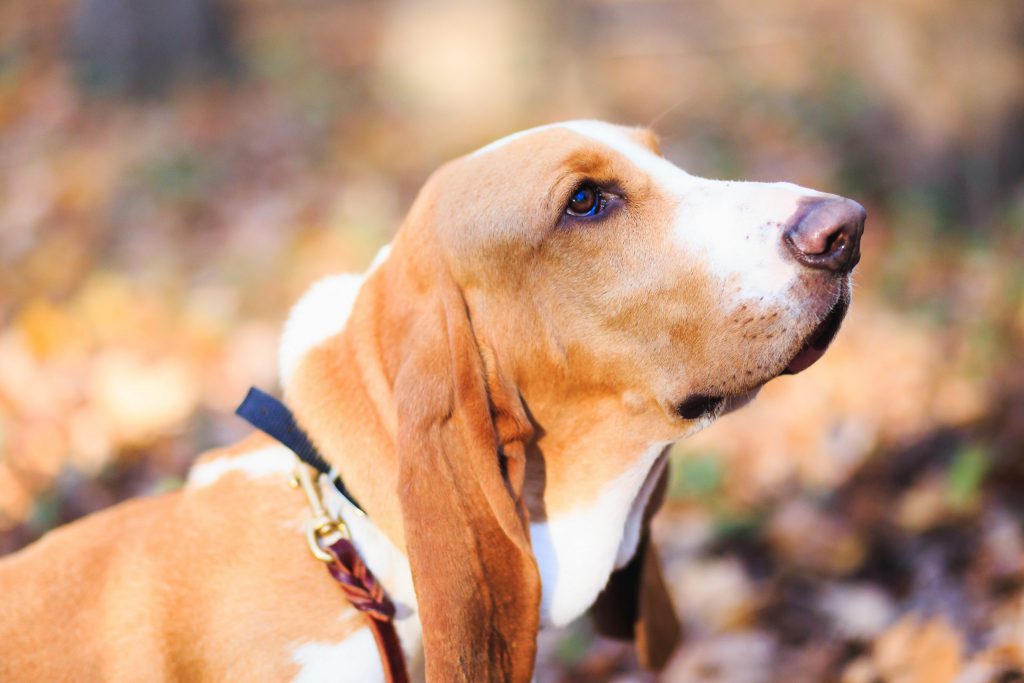
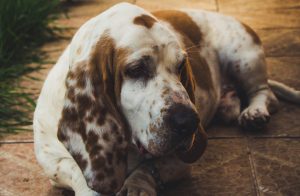
However, this doesn’t mean that you can neglect cleaning your dog’s ears. All dogs need to have their ears cleaned at some point, especially if they are part of a breed with long ears that hang, such as Basset Hounds and Cocker Spaniels. While any dog breed can develop an ear infection, dogs with long ears face a higher risk, caused by a lack of airflow, compared to dogs with short ears. This lack of airflow allows debris and moisture to get trapped in the dog’s ears more easily, making yeast infections more likely.
What to Look For
You should be inspecting your dog’s ears for dirt, odor, and foreign objects about every two weeks or so in order to be sure that her ears are healthy.
 There are some other warning signs of ear issues that you should look out for as well, such as your dog pulling away when you try to rub her ears despite her usually enjoying this. Pulling away may indicate that her ears are sore and you can gauge the health of her ears by gently massaging them.
In addition to this, if you notice discharge, odor, redness in the ear canal, ear swelling, masses around the ear, sensitivity, pain, or excessive scratching, pawing, or rubbing, this could be indicative of a serious ear issue. Take your dog to your vet as soon as possible in order to lessen the potential for your dog to develop a chronic disease or hearing loss. This will also allow your dog to get relief from any discomfort she may be experiencing as quickly as possible.
One more thing to keep in mind before cleaning your dog’s ears: make sure her ears actually need to be cleaned! It is possible to clean your dog’s ears too often and this can also lead to infection and irritation, which is probably what you’re trying to avoid by cleaning them in the first place. In order to prevent over-cleaning, you should be familiar with what your dog’s ear looks and smells like when clean, and only clean them when you see a change.
The bottom line is that you should be cleaning your dog’s ears regularly enough to avoid infection, but not so often that irritation occurs. Because it can be difficult to determine exactly how often this should be, you can talk to your vet as they should be able to recommend a timetable tailored to your dog’s needs.
Ear Cleaning
You’ll want to ensure that your dog is comfortable with having her ears cleaned before you go through the cleaning process. It’ll be helpful if you begin handling and cleaning her ears like a puppy so that she’ll be relaxed during cleaning. However, this isn’t always possible, so just take things slow and follow the cues your dog gives you so that you can avoid unintentionally hurting her while cleaning her ears.
 Begin by gently touching your dog’s ears and seeing how she reacts. She may not like having her ears touched and if this is the case, don’t force anything. Trying to clean your dog’s ears while they are stressed or struggling may not only cause unnecessary anxiety, it can also hurt your dog. If she has a strong negative to her ears being touched, you can take your dog to her vet and they’ll clean your dog’s ears for you.
According to the Merck Veterinary Manual, topical astringents should be used to keep your dog’s ear canals dry and ventilated if she tends to swim frequently.
Here’s what you’ll need to successfully accomplish the process of cleaning your dog’s ears:
- A cotton ball or gauze
- Ear-cleaning solution made for dogs
- A towel
Cotton-tipped swabs such as Q-tips should be avoided because they can potentially do more harm than good by shoving dirt and debris deeper into the ear canal. This can cause infections or even damage the inner structures of the ear.
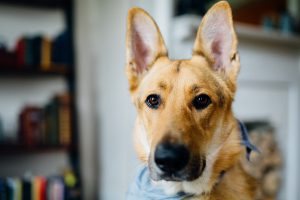 While you’ll probably be able to find lots of ear-cleaning solutions online, or you may even find recipes for homemade ear-cleaning solutions, your best bet is to use a veterinarian-approved solution. This will be the best way to make sure that the solution you’re using is safe, won’t cause irritation, and will thoroughly clean your dog’s ears.
It may be helpful to ask your vet what they recommend because there are so many different types of cleaning solutions. Some are intended to simply break up earwax while others are designed to keep the ear canal dry, and there are even some meant to do both. Speaking to your vet will ensure that whatever product you use is the best option for your dog’s specific needs.
Once you’re finally ready to begin cleaning your dog’s ears, you can gather your supplies and your dog. Try to pick a time when your dog is relaxed in order to make this process easier for both you and your dog. You might even want to keep treats close by to help.
Step 1: General Grooming
 While your focus will likely be on cleaning out the ear canal, excess, dirty, or matted hair around the ear canal isn’t good for your dog either. You may want to begin by removing this in order to make sure that your dog’s ears are getting the proper amount of ventilation. If you don’t feel comfortable doing this yourself, you should take your dog to a groomer, such as Fon Jon Pet Care, or a medical professional.
Step 2: Ear-Cleaning Solution
Fill your dog’s ear canal with your ear-cleaning solution of choice, being careful not to let the tip of the applicator touch your dog’s ear in order to avoid bacteria introduction, and gently massage the base of the ear for about 30 seconds. You should hear a squishing sound as you do this, indicating that the solution is dislodging and breaking up debris and buildup in your dog’s ear.
If your dog shows signs of being in pain during this process, you should have your dog examined by her vet as soon as possible.
Step 3: Cleaning the Ear Canal
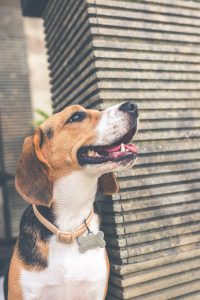 After massaging your dog’s ear for the appropriate amount of time, let your dog shake her head. You may want to use the towel you prepared to shield yourself as she does this. After she shakes her head, you can then also use the towel to wipe down her face.
This is also when you’ll want to use your cotton balls or gauze, in order to wipe out the ear canal. While wiping out the canal, you shouldn’t go any deeper than the one knuckle. Again, if your dog is in pain, stop and call your veterinarian.
Repeat this process on your dog’s other ear, and you’re done!
What to Avoid
If you’ve come across any articles recommending hydrogen peroxide, vinegar, or alcohol for cleaning your dog’s ears, don’t! Use only veterinarian-recommended products specifically designed to clean dogs’ ears. Anything else is likely to irritate your dog’s skin and may even cause permanent damage to your dog’s ear canal.
Signs of an Ear Infection
If your dog has an ear infection, cleaning her ears will do more harm than good, so it’s best to leave her ears alone and take her to be seen by your vet, who will prescribe antibiotics and ear drops to clear up bacteria or yeast infections, or medication to kill parasites.
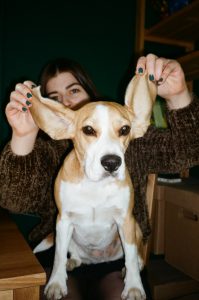 If your dog exhibits the following, she’s probably suffering from an ear infection:
- Ears that are sensitive to touch, red, and inflamed.
- Shaking her head regularly or constantly trying to scratch her ears.
- Smelly discharge coming from her ears that may be a strange color.
Ear mites can also cause ear infections in dogs. If you notice clumps that look like coffee grounds, thick black or reddish-brown crusts, along with cuts in scratches in your dog’s ear, this may indicate that ear mites are present.
Fon Jon Pet Care is Here to Help!
If you are in the San Diego area and looking for quality pet care services such as dog grooming, you can rely on Fon Jon Pet Care. Contact Fon Jon Pet Care at 1-858-250-3601 or visit our site today and we will be happy to help you with your pet care service needs.


